MAKE AN LED "PLANT".
This is one of those projects that went from a simple idea to a really neat and unexpected result.
It's a weird solar powered LED "plant" that wraps around the branches of a tree or bush and charges during the day to glow at night.
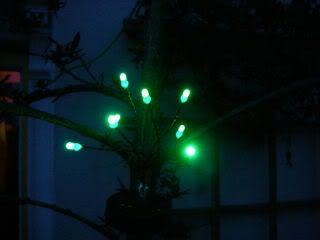
Here's how the end result looks when it's glowing at night. The picture can't do justice to the actual visual effect.
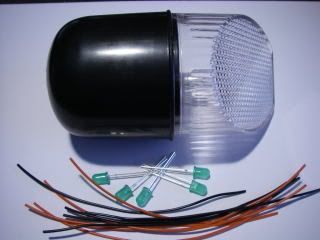
The components required are:- a cheap solar powered garden light, some solid core wire in two colours, some high ouput diffused LEDs (all the same colour) and some heatshrink tubing if desired.
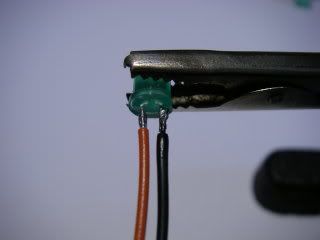
The wires are cut into equal lengths of about 6" (150mm) and soldered to the LEDs taking care to match the LED polarity.
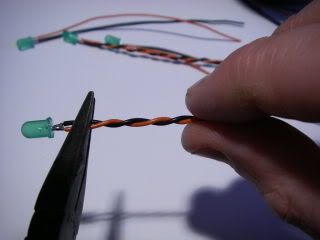
The wires are twisted to make stiff stems for each LED and also to make it look neater.
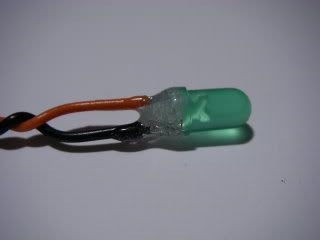
For outdoor use I'd strongly recommend that the base of each LED where the wires are soldered on is protected from moisture by the use of a drop of two part resin.
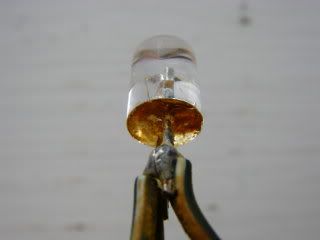
If no protection is used then the LED leads will rust when rain makes contact with them. This LED is one of a set of 60 solar lights from China that used heatshrink to cover the LEDs, but allowed water to enter and corrode them.
The leads will corrode quickly when wet and powered since DC accelerates electrolytic corrosion.
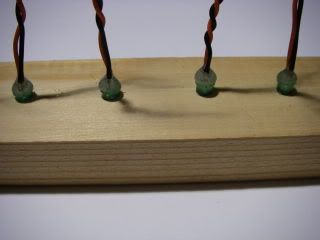
To make it easier to resin the bases of the LEDs I used a bit of wood with 5mm holes drilled in it to hold them upright while I applied the glue.
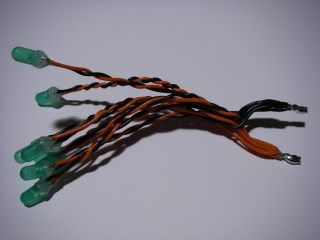
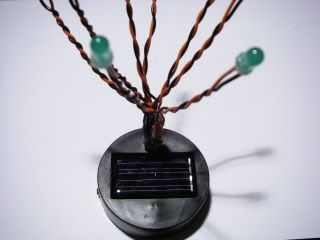
The new long LED leads are stripped, twisted and soldered together. Note that in this version of the project I simply wired all the LEDs in parallel. This can be done if all the LEDs are an identical type since they will usually all pass an equal share of the current due to their similar ratings. If differing LEDs are used then a resistor will be required in series with each LED to ensure that the available current is divided between them. A 100 or 220 ohm resistor per LED should be fine.

If required a legnth of wire can be soldered to the common positive and negative connections. In the picture above I used some more two part epoxy glue to seal the connections and also sleeved them with heatshrink tubing.
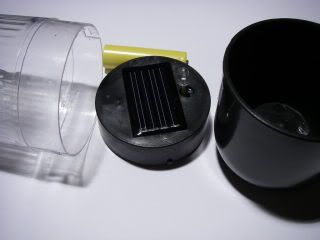
Now it's time to strip the solar light. These can be bought quite cheaply, and this particular one came from Poundland in the UK (like a dollar store). You simply can't get a solar panel, NiMh battery and circuit for any cheaper than buying a complete light. Note that there are two types of solar panel used on these cheap lights. One version is comprised of thin strips of blue coloured silicon sealed in a resin panel, and the other is a brown glass panel with thin stripes. The blue type is much better than the brown one. It has higher output for a smaller size and is less prone to corrosion issues.
When choosing a light compare the solar panels. The more area of actual panel the better. Some low quality lights have a large area but with only a few slivers of the solar cell in it. Even seemingly identical lights may have differing panels. Compare them to find the one that has good big solid bits of panel as opposed to random shaped off-cuts.
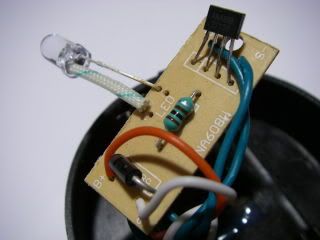
The circuitry inside the light usually has a diode to charge the battery from the solar panel, a light sensor to turn the light on at night and often a bit of step-up circuitry that allows an LED (3V) to be run from a single cell (1.2V). In this case the circuit board contained the diode and a dedicated 4-pin solar control chip that uses the solar panel to sense the light level and contains the required circuitry to boost the voltage up to drive the LED via a small choke.
The new LED arrangement is soldered in place of the original LED matching the polarity of the original, and the whole assembly has any holes and exposed connections sealed with two part epoxy resin glue. How the assembly is packaged or protected depends on the type of light you use. If possible, try not to resin over the battery contacts as it would be useful to be able to change the battery in the future if the light gets a lot of use.
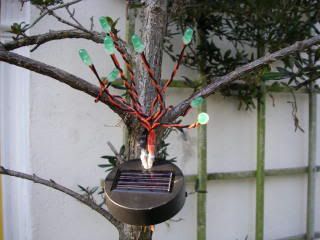
Now you find a fairly open tree or bush in a place with a lot of sunlight or daylight exposure and you entwine the LEDs around it's branches to hold them in place and also support the solar panel in a position where it spends at least part of the day pointing in the direction of the sun or at least a bright part of the sky.
The difference in output from a solar panel in full sunlight is significantly better than in shadow or diffused daylight. The performance of this light will depend strongly on how much good quality light it gets during the day. If it gets too little, then the lights will only glow for a short time at night if at all, so placement is important. You can experiment with different positions for best light collection during the day.