MAKE METAL CANDLES.
This is a simple but very sweet project. I was playing about with oil and wicks on new years eve 2006 and came up with this idea for metal candles that can be re-used, and burn ordinary cooking oil or other suitable fuel like liquid parafin.
It basically involves an easy to roll paper wick and a sleeve that holds it together and allows it to wick the oil up while retaining a constant burning area.
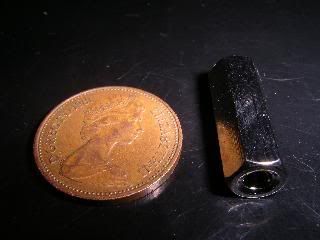
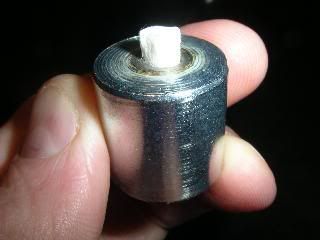
For my prototype I used a threaded hex brass spacer as used in the electrical industry for spacing circuit boards and mechanisms. You could use almost any non-combustible object you can drill a 5mm (3/16ths) hole through.

You drill the hole through the middle. In this case I drilled out the existing threaded core.
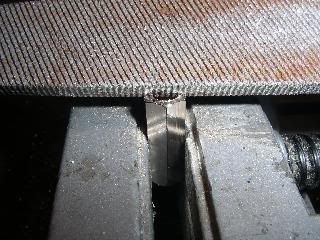
Then file a small notch across to allow the oil to get to the wick while still allowing the support to stand upright in a dish.
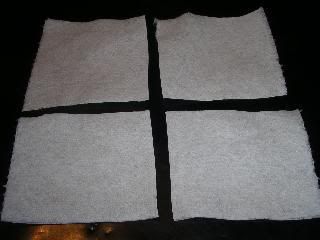
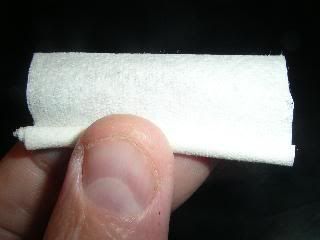
Here's the wick! It's a single sheet of toilet roll cut into four pieces to make four wicks. How cheap is that!
I tried various other materials including kitchen roll but this worked best. Don't let that stop you experimenting though.
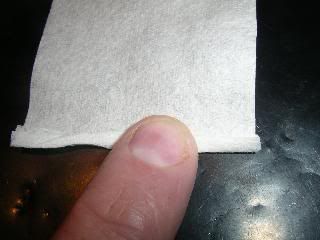
Take one of the quarters and firmly fold the edge a couple of times to stiffen it.
Then roll it between thumbs and forefingers to make a round wick.
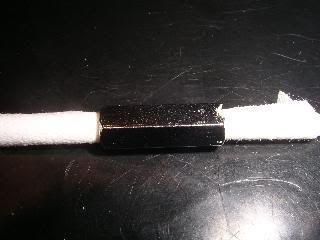
Slide it into it's support.
Then crop it so that it's flush with the bottom of the support and sticks out about 5mm (3/16ths) at the top. The length it sticks out will vary according to the fuel used and the flame size required. If it's too long the flame will be big but may give off smoke.

Place it into a non-flammable dish with the grooved end at the bottom and add oil. I used ordinary cheap rapeseed cooking oil. Different oils will have different burning characteristics, and thicker ones may clog up the wick after burning for a few hours. But lets face it, the wicks easy to replace.
Do NOT use any fuel that can support a flame without a wick. The whole lot will go up! Liquid parafin or lamp oil work well, but cheap vegetable oil is readily available in large quantities at low cost. You could maybe even use old frying oil if it's fairly clean or filtered.
Press the wick down gently to make sure it touches the bottom of the dish and let the oil soak up to the top for a few minutes. It may be necessary to lift the wick support briefly to let the oil flow in if the groove is small.
Because of the size of the wick and it's tendency to saturate with oil, it may take 10 seconds or more to light. I recommend using a trigger style gas lighter as used for cookers and barbeques. Hold the flame on the wick until it starts to blacken and support a flame itself.
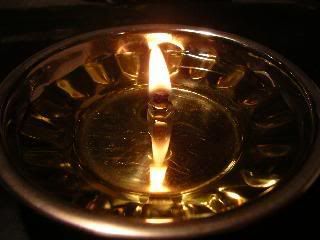
Once lit the flame will rise up and then settle down to a balance between burning speed and oil wicking speed. If the flame is too big and smokes then extinguish it and trim the wick down slightly.
A few drops of natural fragrance oil can be added to the oil to add a hint of aroma to the lamp.
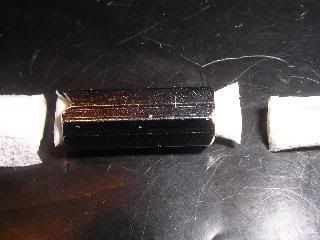
Here's an alternative core I made using a big slug of metal. It's much more stable due to it's size.
Again it's had a slight groove put in the bottom to allow oil to flow to the wick. You could use almost any shape of solid metal for this. Stars? Triangles? cubes? Maybe even several wicks in one slab. An alternative to the groove on the base might be a cluster of three tiny feet to keep the metal off the bottom of the dish.
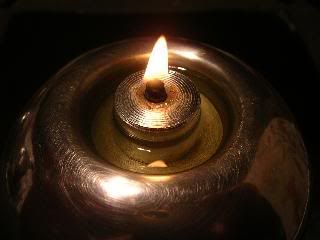
I put this one into an aluminium tea light holder and filled the gap with oil. It's very attractive and burns for a surprising length of time.